Quick-Start Guide for Students
1. Sign up for a Hypothesis account:
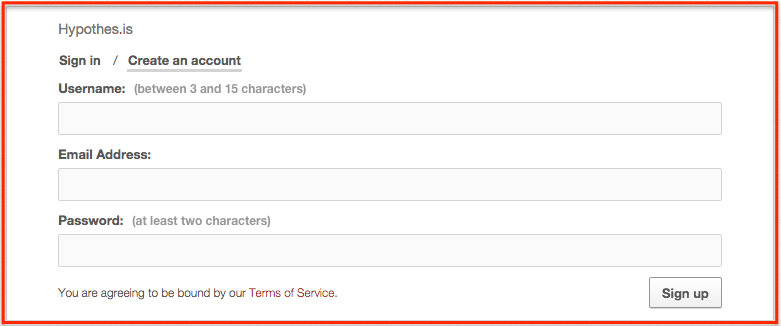
Go to the registration page. All you’ll need to sign up for a Hypothesis account is an email address and a username. You should receive a confirmation email shortly–check your spam box if not.
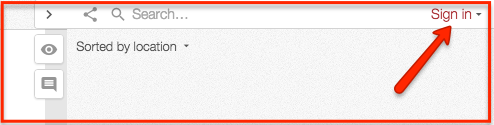
While you will register at the Hypothesis site, you’ll more typically be signing in through the annotation sidebar after activating Hypothesis using the Chrome extension or some other means:
2. Get the Chrome extension:
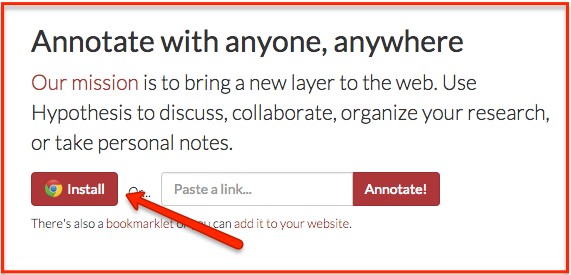
Because Chrome is the optimal browser for using Hypothesis, we recommend downloading Chrome on your personal computer if you haven’t already and adding our Chrome extension. You can do so at our website or through the Chrome store. Here’s a tutorial slideshow on how to install the Chrome extension. And here’s a video that walks you through the process:
https://www.youtube.com/watch?v=MjSpol-oPm4
Note: There are other ways to use Hypothesis outside of the Chrome extension (like a bookmarklet for other browsers, but unless you are annotating on a website where Hypothesis is automatically embedded, we recommend using the Chrome extension.)
3. “Go Forth and Annotate”:
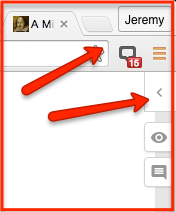
Navigate to a webpage that you are assigned to annotate and activate the Chrome extension by pressing the greyed out button in the upper righthand corner of the browser:
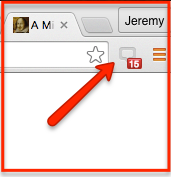
When activated, the extension button will darken and the Hypothesis side bar will appear collapsed:
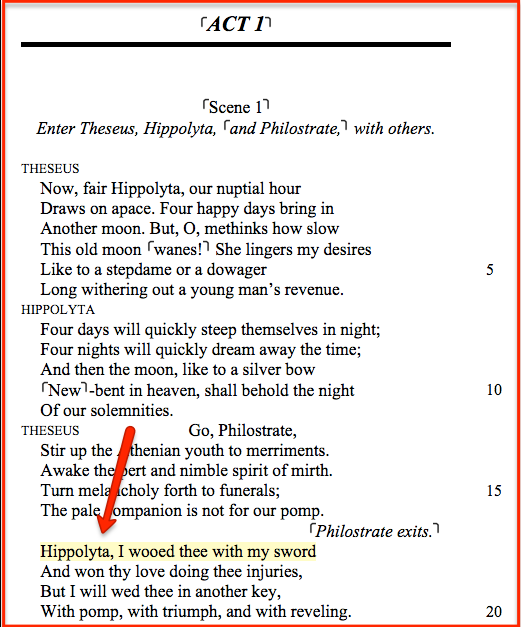
Click highlighted text to see existing annotation–you can practice on this very page, indeed this very highlighted phrase:
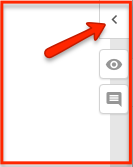
Expand the sidebar to scroll through the existing annotations.
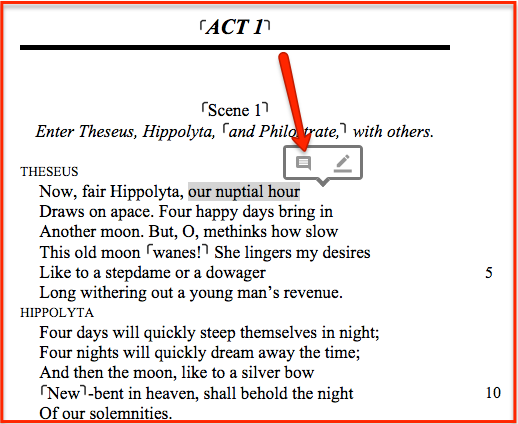
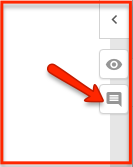
To create your own annotation, select text, click the “New Note” button–the other button is for private highlights.
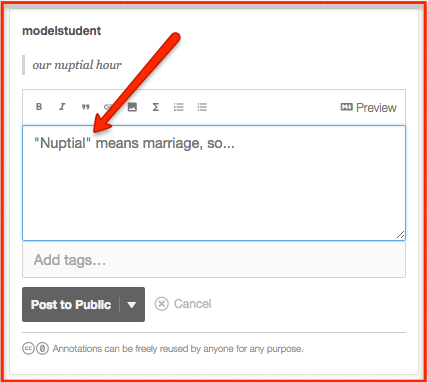
Enter your annotation content in the composition window and click “Post to Public”–you can also click the adjacent arrow to make the annotation private or “Only Me”:
Note: You can always view all your annotations in a stream at your “My Annotations” page on Hypothesis:
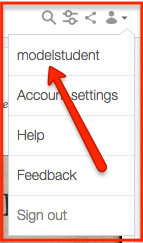
Your annotations are editable and deletable there as well.
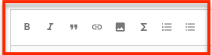
Add images, links, and video, or format your text using the editing buttons at the top of the composition window:
You can also make page-level annotations by clicking the same note button in the sidebar.
See this blog for a full explanation of the different types of annotation that can be made in Hypothesis, including replies. For tips on best annotation practices (how much text to select, when and how to add images and links, etc.), check out this page.
4. If you have been instructed to annotate as part of a group:
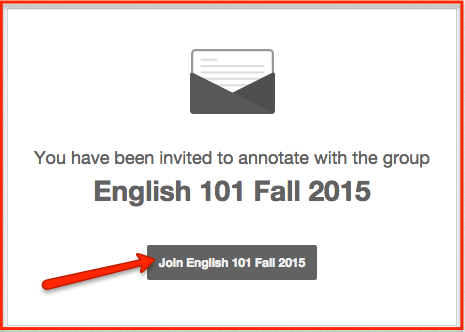
Follow the group link your teacher or professor has shared with the class in order to join the group:
![]()
Click the button to join the group–you may be asked to sign in first if you have not already done so:
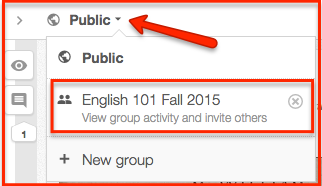
Next, navigate to the text you are assigned to annotate. Toggle the view finder in the upper left of the hypothes,is sidebar to the group name–the default is the “Public” annotation layer:
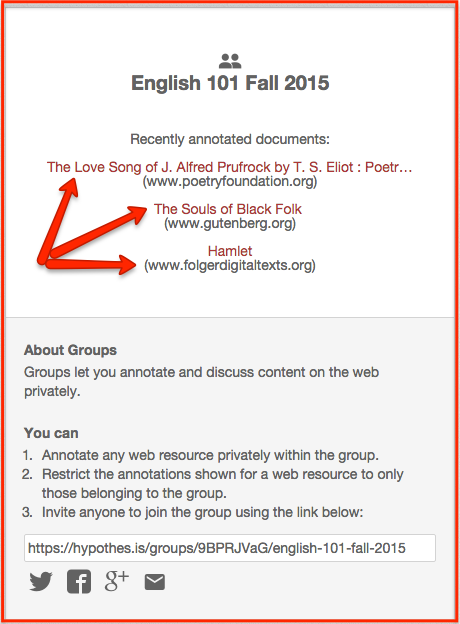
Once you and your classmates have annotated texts as part of the group, links to those pages will appear on the group’s home page as seen here:
For a more in-depth tutorial on joining and annotating as part of a hypothes.is group, follow this link.
Visit our Student Resource Guide for more guides and tutorials about using Hypothesis in the classroom.