This article walks through everything you can do with annotations in a Hypothesis assignment: creating and writing them, posting and editing them, and finding your way through everyone else’s. If you’re brand new to the Hypothesis LMS app, start with our Introduction to the Hypothesis LMS App for Students, then come back here for the details.
Taking notes
Creating notes
There are four kinds of annotations in Hypothesis.
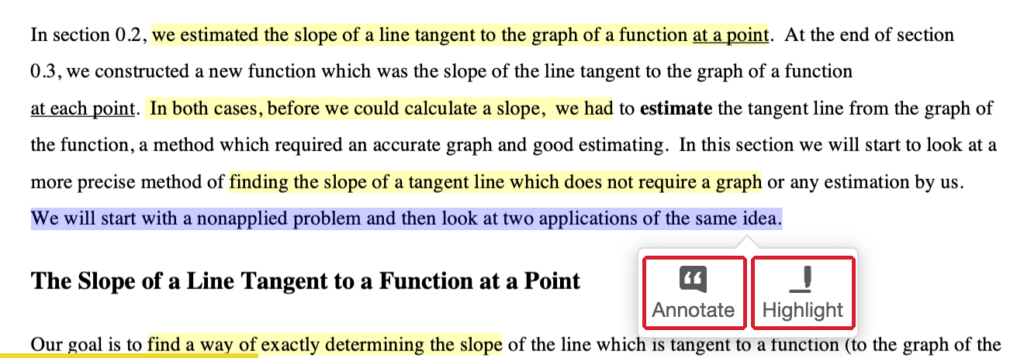
Annotations. Select any text in the reading, and a small menu called the Adder pops up with two buttons: Annotate and Highlight. Click Annotate to open a Card in the Sidebar, write your note, and post it.
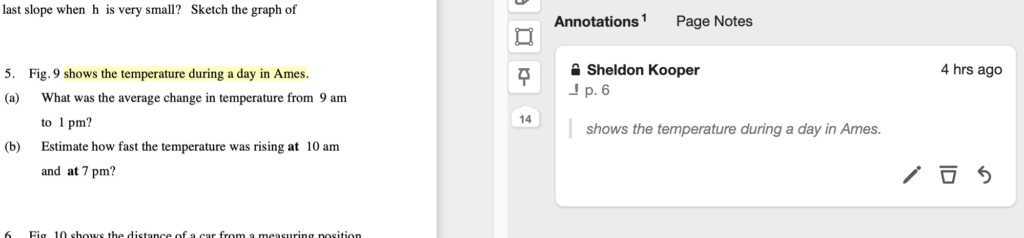
Highlights. Click Highlight instead, and your selection is saved right away, with no need to Post. Highlights are private: only you can see them, which is why they show a lock icon.
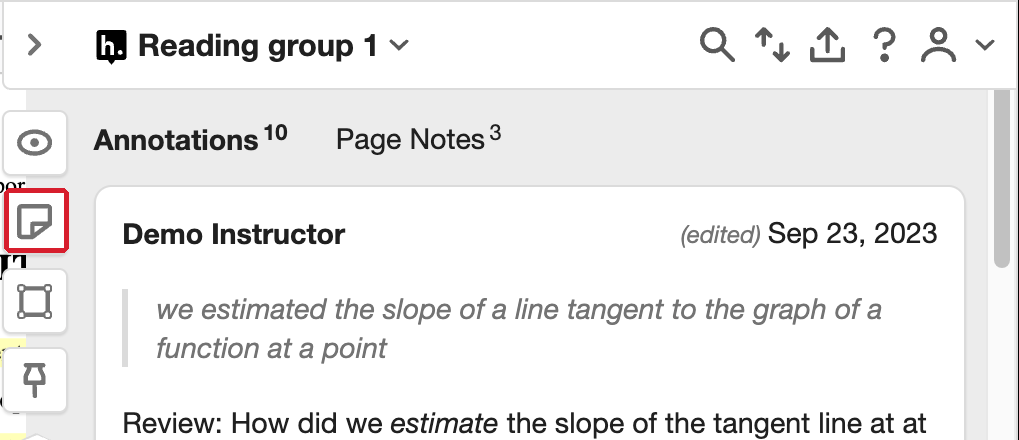
Page Notes. A Page Note is like an Annotation, but it isn’t attached to any particular passage. Use it for comments about the whole reading. To create one, click the Page Note button at the top of the Sidebar.
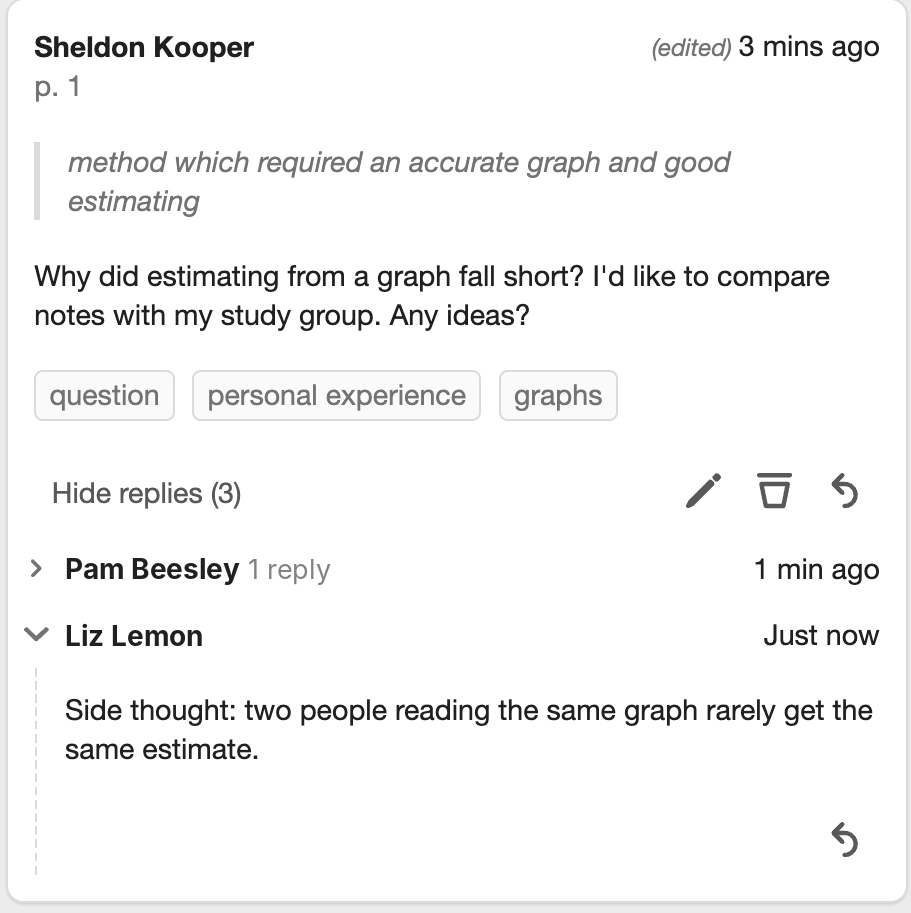
Replies. You can reply to any Annotation or Page Note. Replies stay on the same card as the original, so the whole conversation stays together.
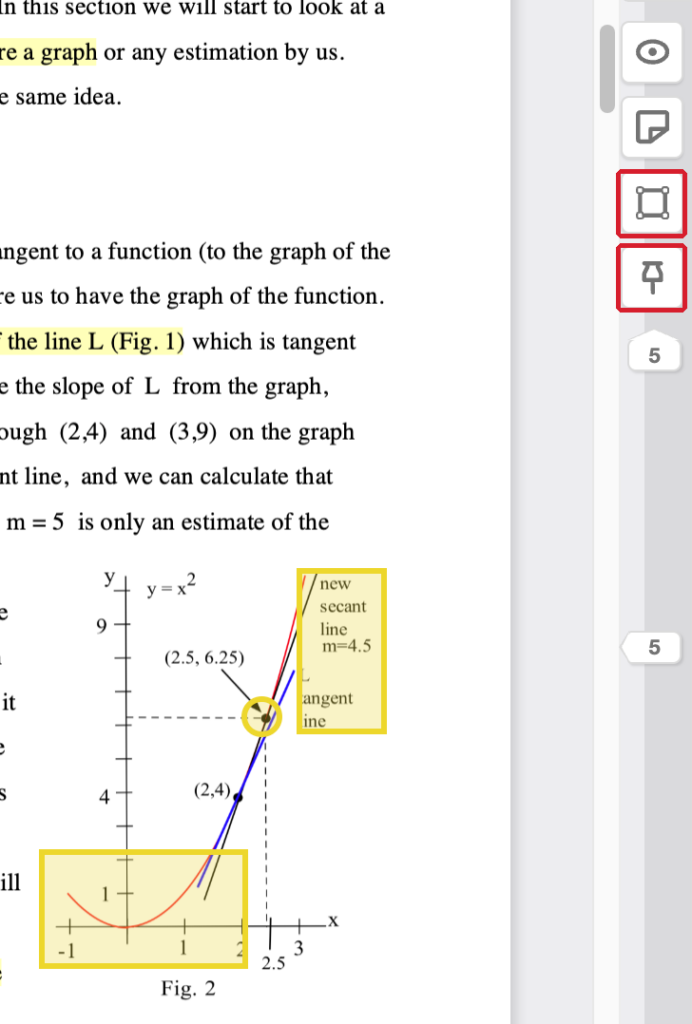
Annotating images. On PDFs you can also annotate images and figures. Click the rectangle button in the sidebar and drag across an area, or click the pin button and click a single spot. Each one opens a Card just like a text Annotation. Learn more in Image annotation in the Hypothesis LMS app.
Writing notes
The selected text. At the top of an Annotation Card is the passage you selected. Choosing the right passage is part of making a good Annotation. Page Notes and Replies don’t have selected text.
The comment box and toolbar. Write your note in the comment box. The toolbar above it adds bold, italics, quotes, bulleted and numbered lists, links, images and math.
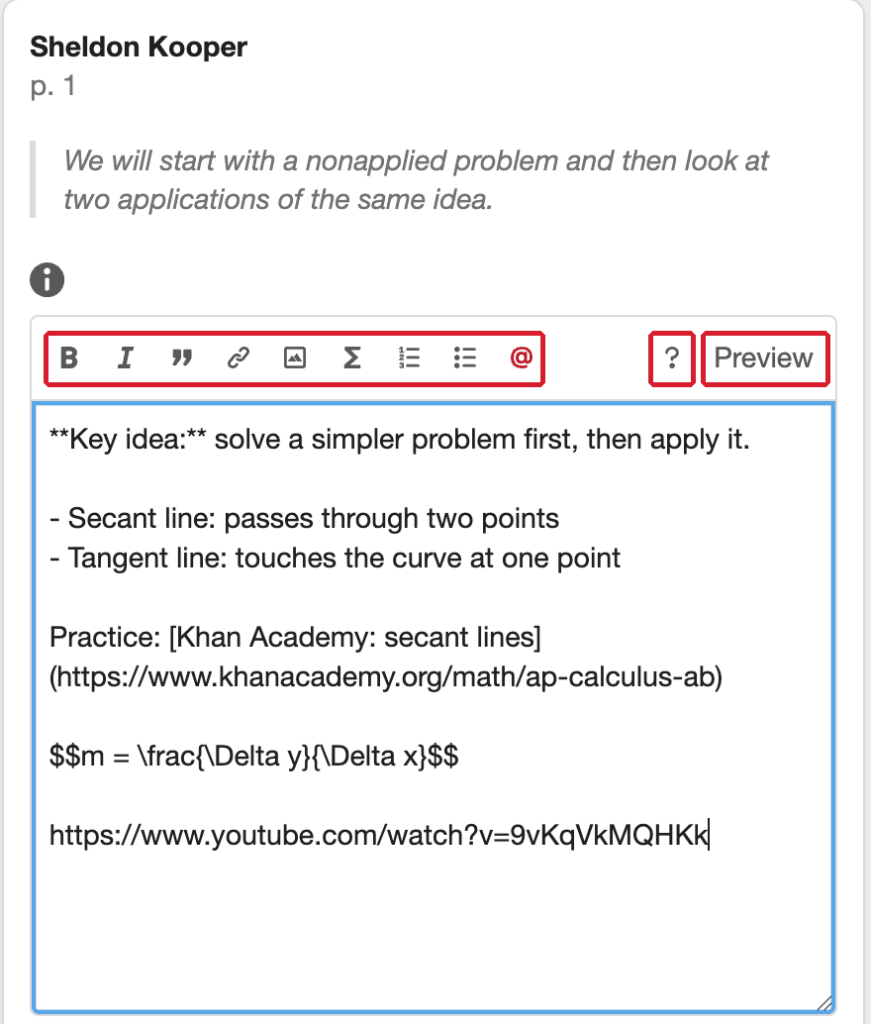
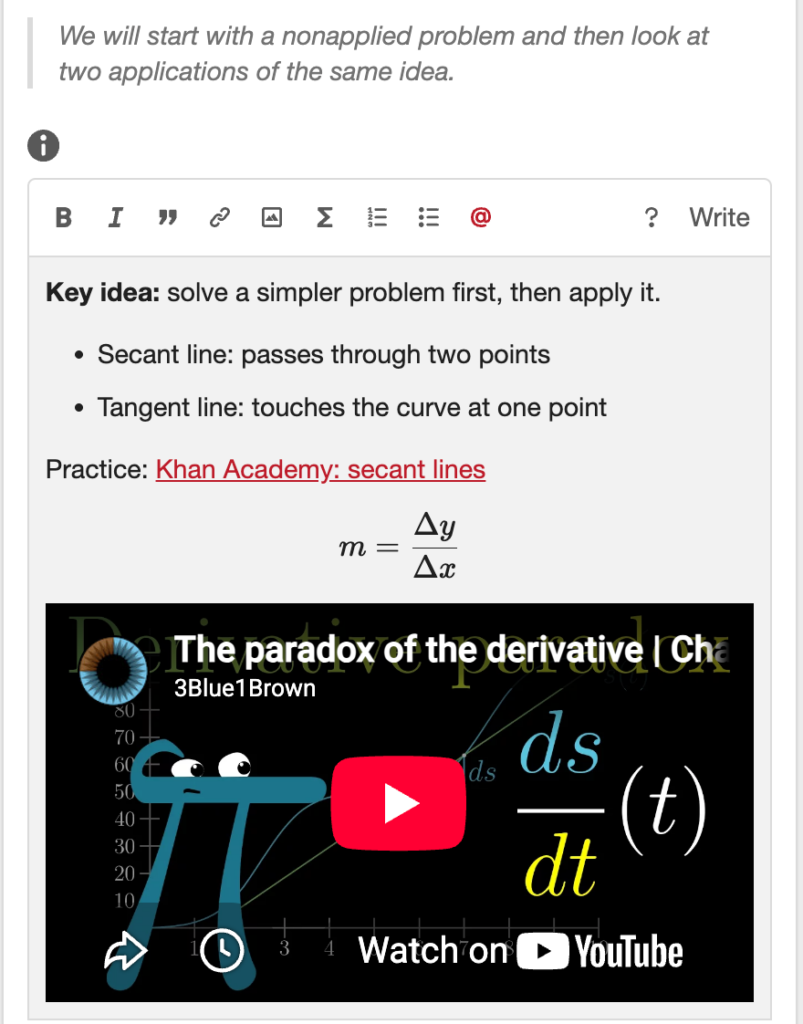
Links and images. Use the link button to embed a link in text. To embed an image, use the image button and paste the image’s web address, then add a short description for anyone who can’t see it. See Adding links and images to your annotations.
Video and audio. Paste an embeddable YouTube or Vimeo link on its own line and it becomes a playable video. A link to an MP3 file becomes an audio player. See Adding videos to your annotations.
Math. Write equations using LaTeX. See Formatting annotations with LaTeX.
Markdown and Preview. The toolbar buttons write Markdown, a simple formatting language, for you. You can also type Markdown yourself for extras like headings and horizontal lines. The help (?) button opens a quick guide, and Preview shows you exactly what everyone else will see. See Formatting annotations with Markdown.
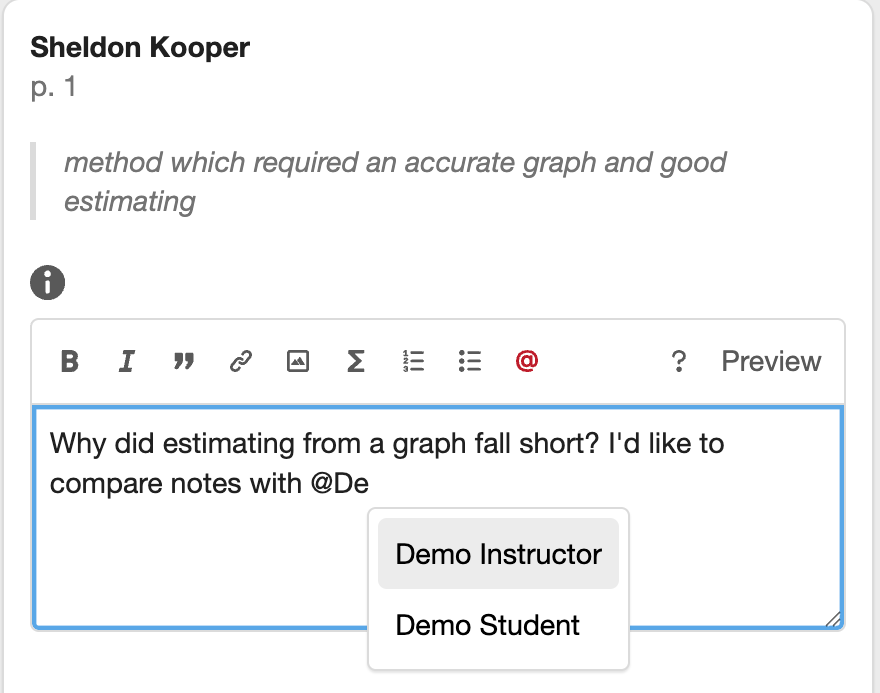
@mentions. Type @ and start typing a name, and Hypothesis suggests people in your Hypothesis group: your course, or your small group if the assignment uses groups. The person you mention gets an email. See Mentions for the Hypothesis LMS app.
Tags. Type a tag in the tag field and press Enter, and it becomes a chip you can remove. Tags can include spaces, and Hypothesis suggests tags as you type. Tags help you organize your thinking when creating notes, and can help you search for notes later.
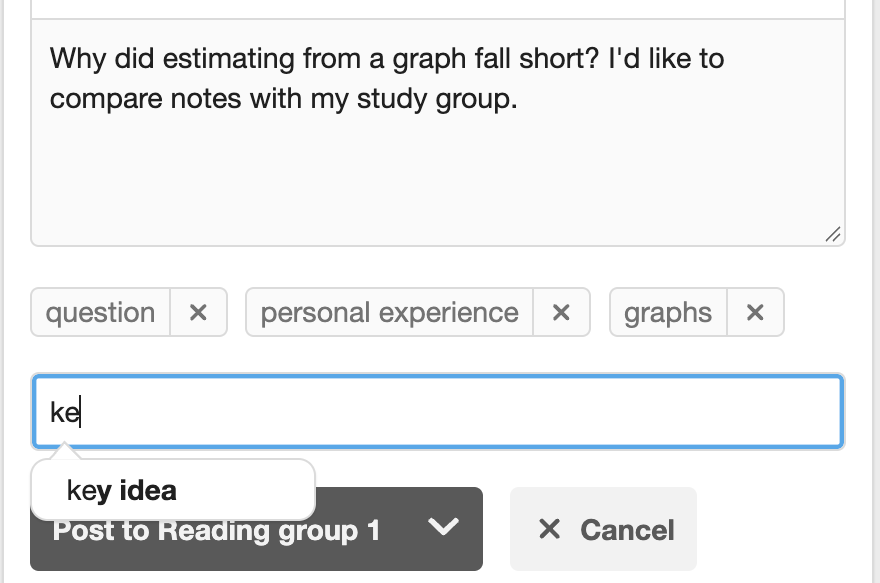
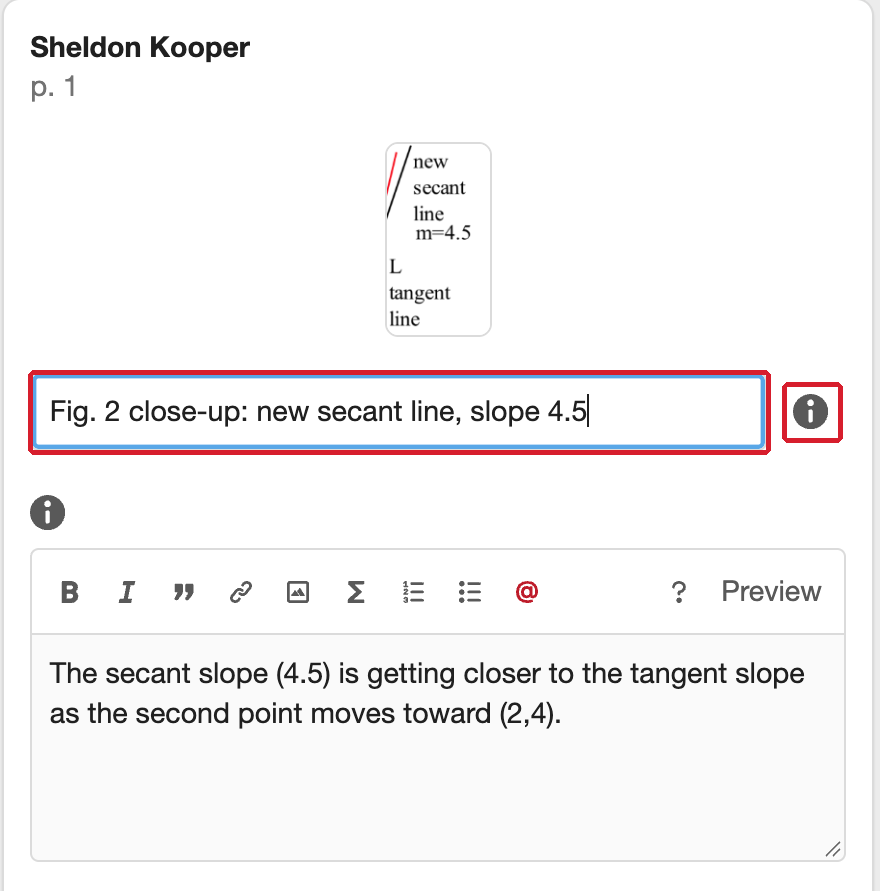
Image descriptions. Rectangle and pin annotations show a thumbnail of what you selected instead of quoted text, plus a description field. Your description provides alt text for readers who can’t see the thumbnail, and also helps show your thinking to everyone reading your annotation. It’s also included when notes are exported. The info icon next to the field links to tips on how to write alt text.
Posting notes
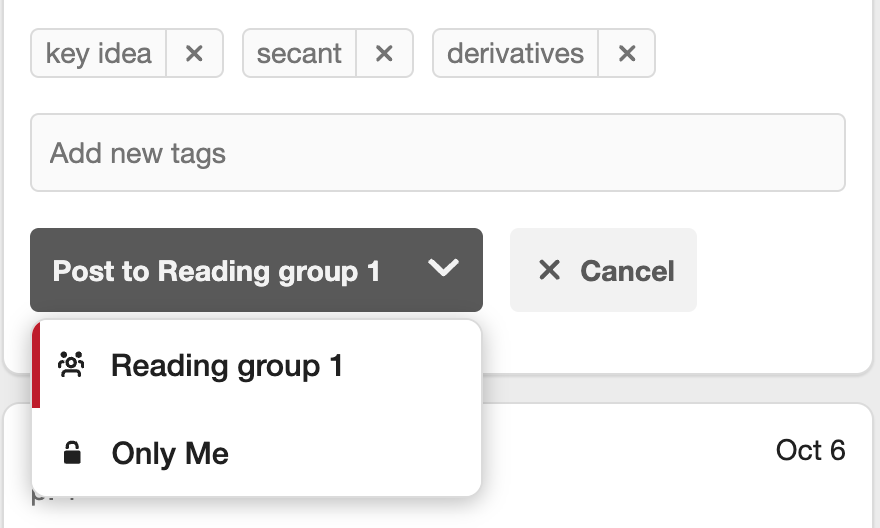
Everything except Highlights needs to be posted, and the Post button stays disabled until your note has some text or tags. The arrow next to Post lets you choose who sees it:
- Your course group (or your small group): everyone in the group can see it.
- Only Me: a private note that nobody else sees, not even your instructor. Private notes show a lock icon. See Creating a private annotation.
Editing and deleting notes
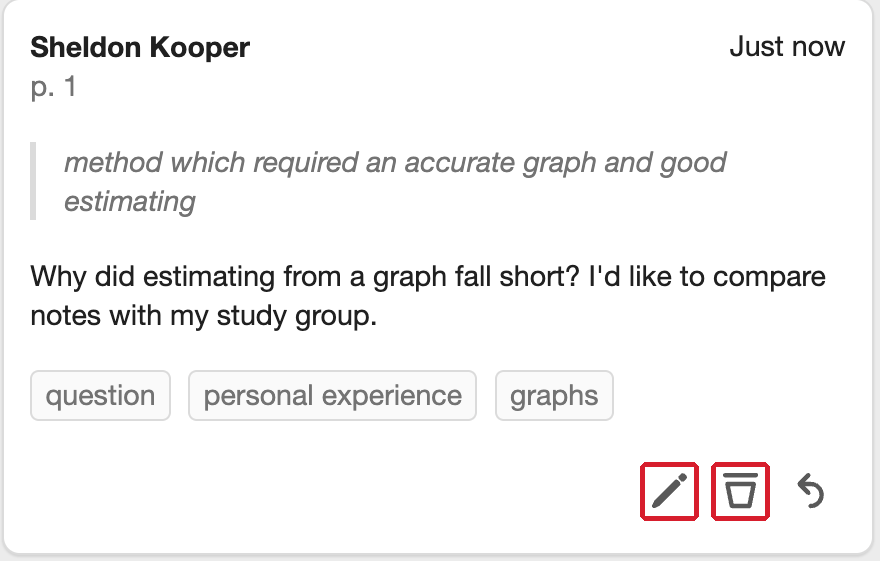
Click the pencil icon to edit any of your own annotations, including changing who can see them. Click the trash can to delete one. If you’re writing a note and change your mind, click Cancel to discard it.
Using a keyboard
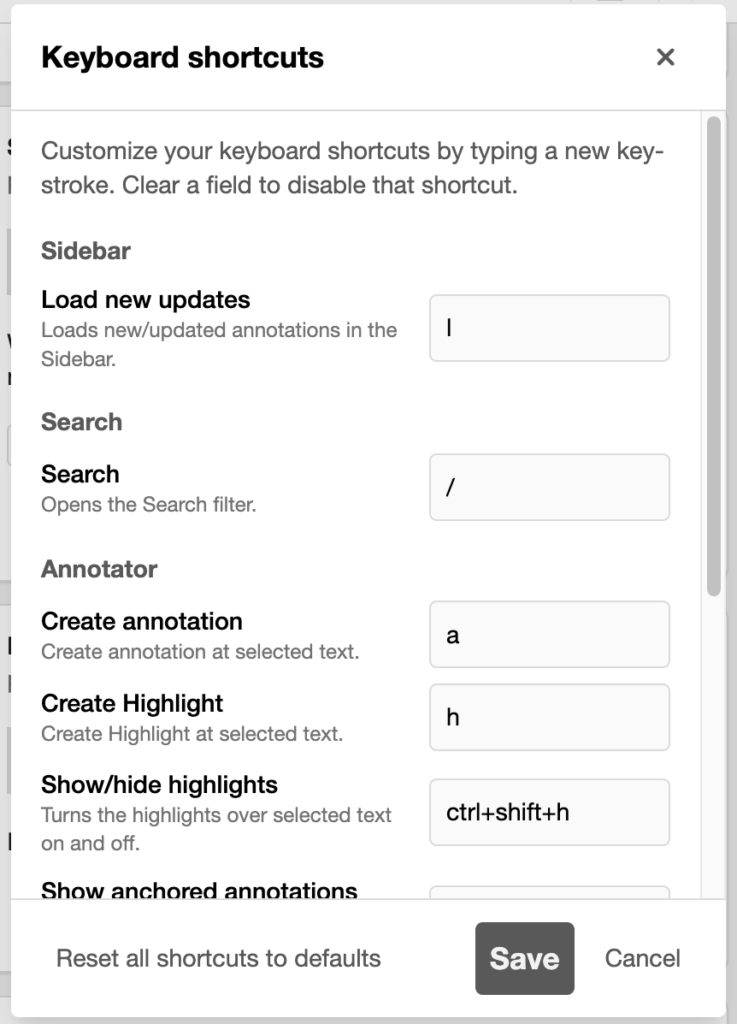
Everything we detailed above works with a keyboard alone. Select text with your keyboard and the Adder appears, ready for a shortcut to annotate or highlight. There are also shortcuts for posting and for moving around the sidebar. You can change, turn off or reset any shortcut in the keyboard shortcuts settings. See Creating annotations using only your keyboard and Customizing keyboard shortcuts in Hypothesis.
Navigating notes
The sidebar
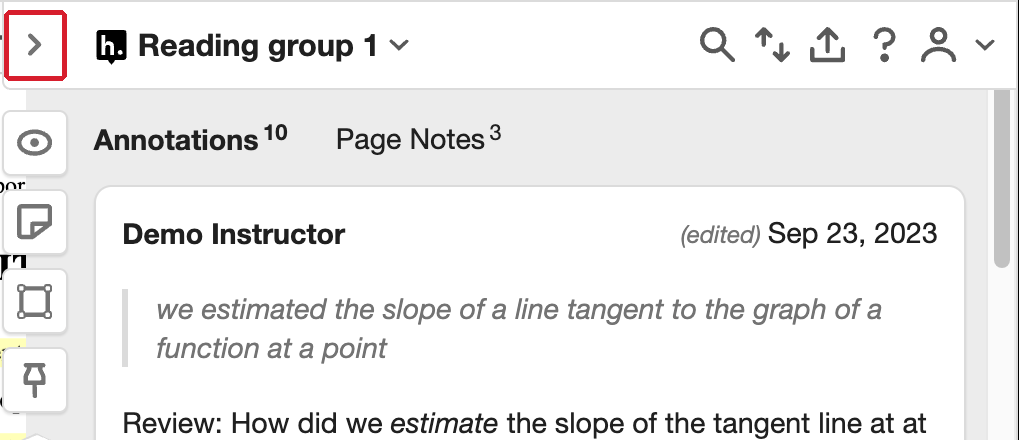
Collapse, expand and resize. Use the arrow at the edge of the sidebar to collapse it for an uninterrupted read, then expand it again. Drag the edge to make it wider.
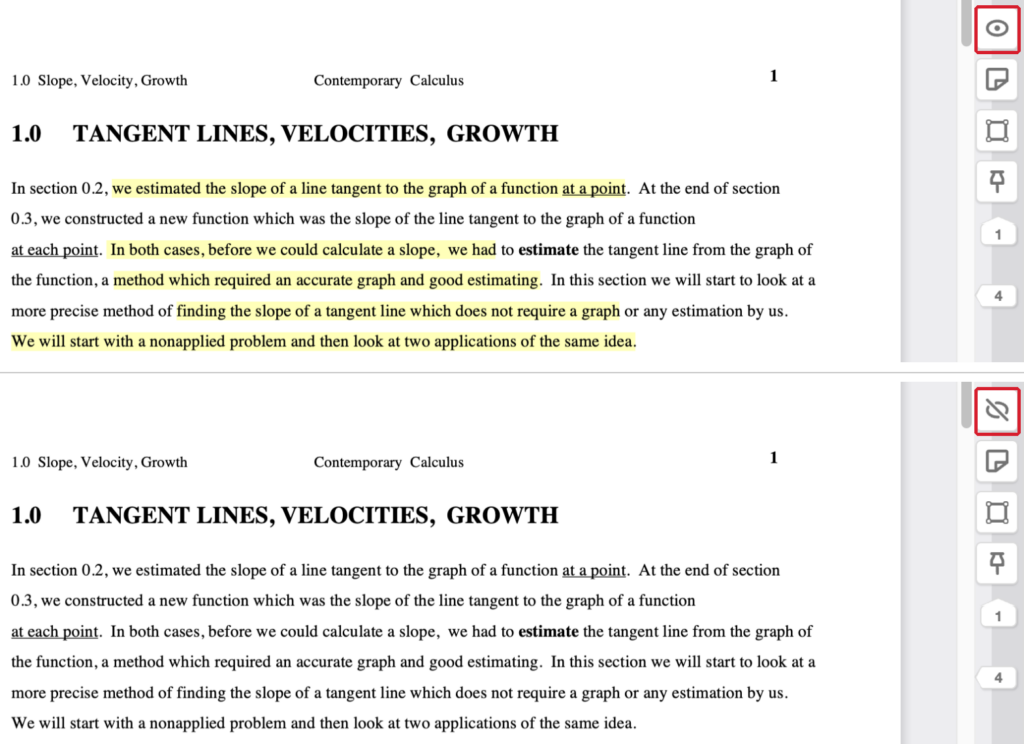
Show or hide highlights. The eye button turns highlights on the page off and on.
Tabs. Annotations and Page Notes each have their own tab, and each tab shows a count. An Unanchored tab appears when needed.
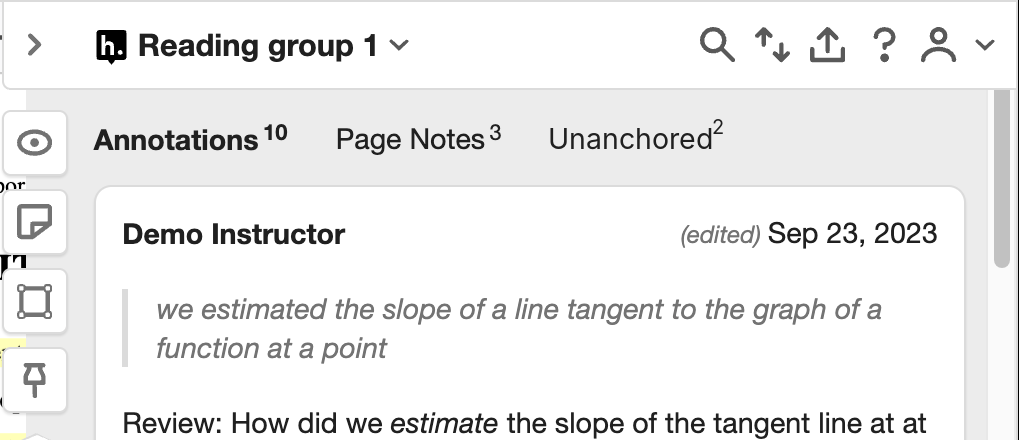
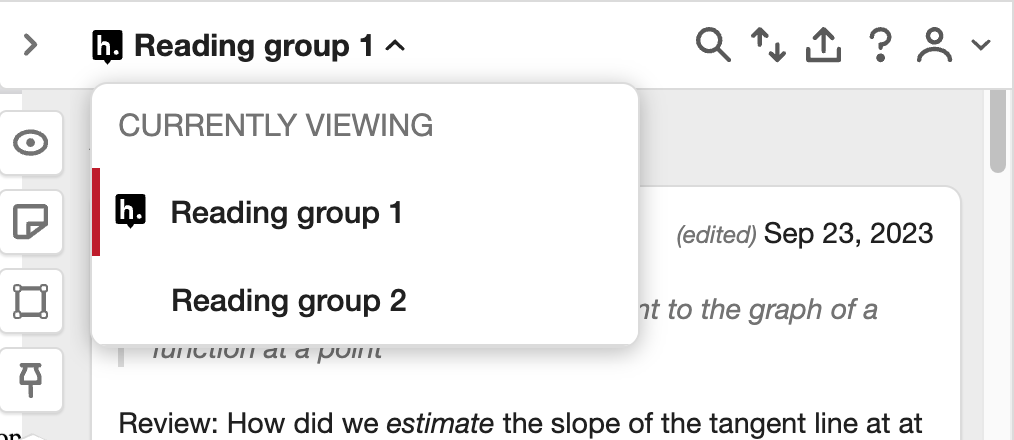
Groups. If you can access multiple groups in an assignment, you’ll see the group selector at the top of the sidebar.
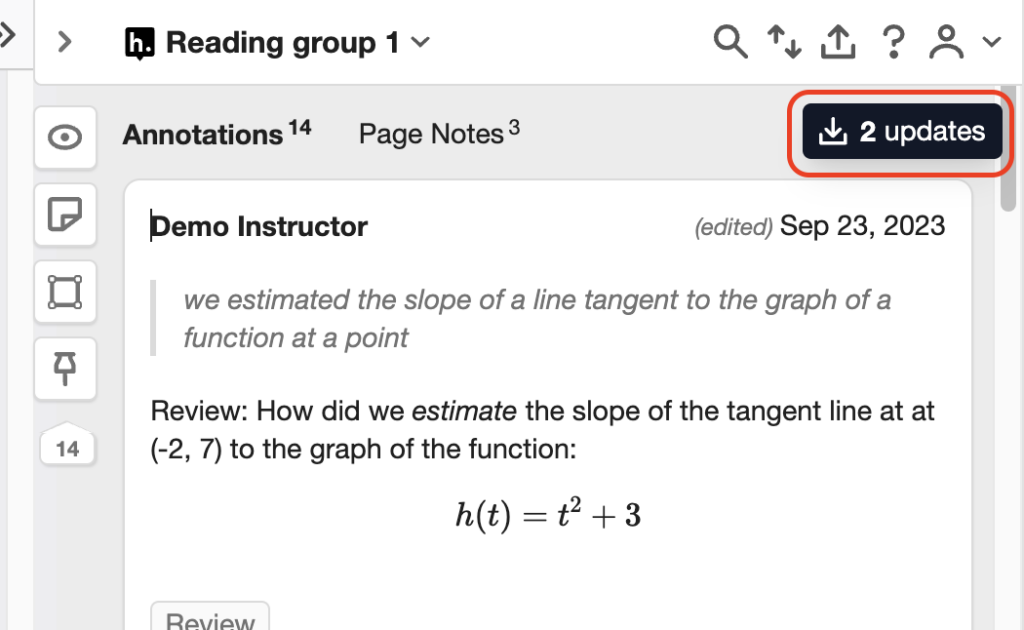
Updated annotations. If someone posts or edits while you’re reading, a button appears that loads the changes and scrolls you to them.
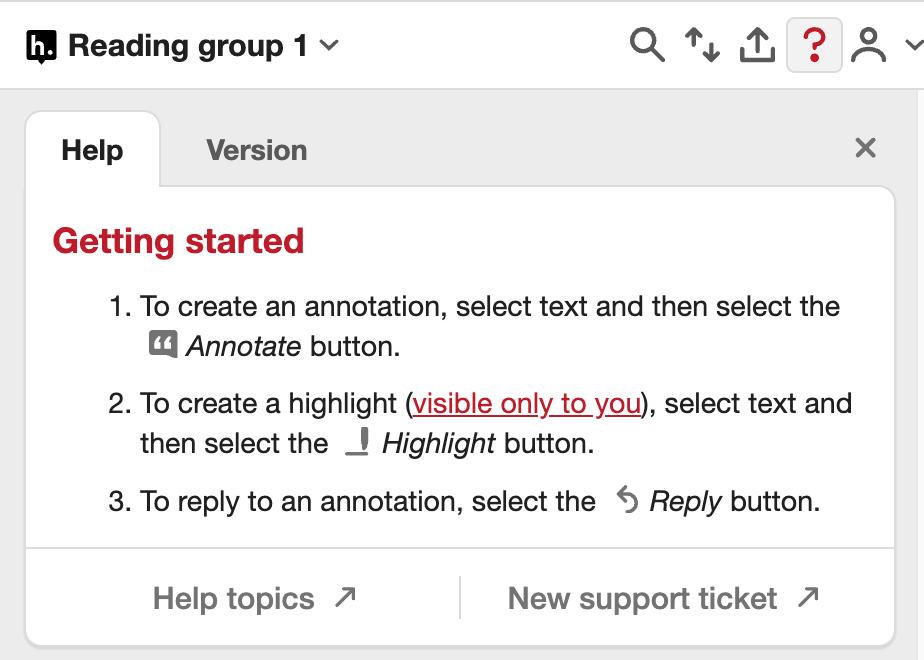
Help. The help button opens getting-started tips, help topics and a link to contact support. Opening a ticket from inside the app automatically includes technical details our support team needs.
Reading a card
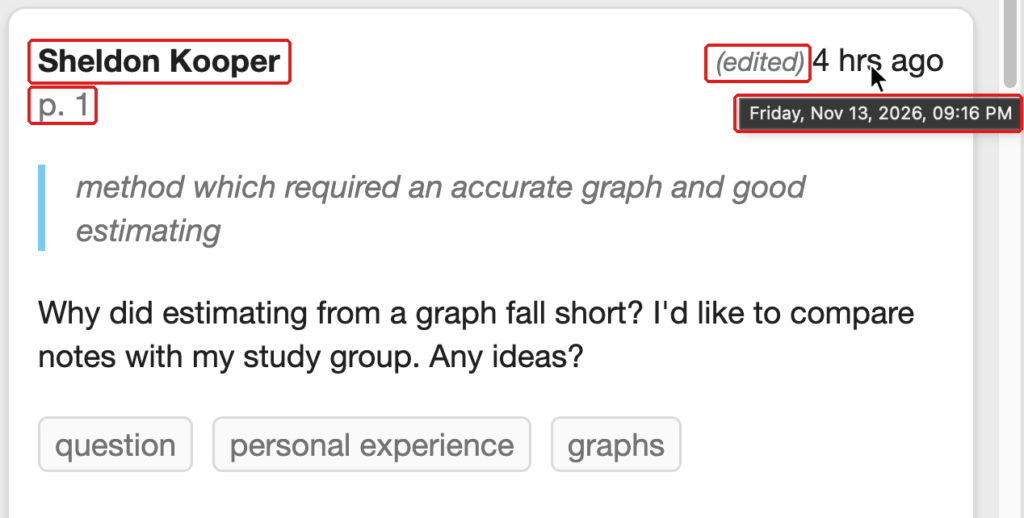
Every card shows who wrote it, when (hover over the time to see the exact date and time), the selected text, the note and its tags. If an annotation has been edited, you’ll see an “edited” label with its own timestamp. Image annotation cards show the thumbnail and description where the selected text would be. On PDFs and ebooks that contain the correct page-related data, cards also show the page number.
Conversations
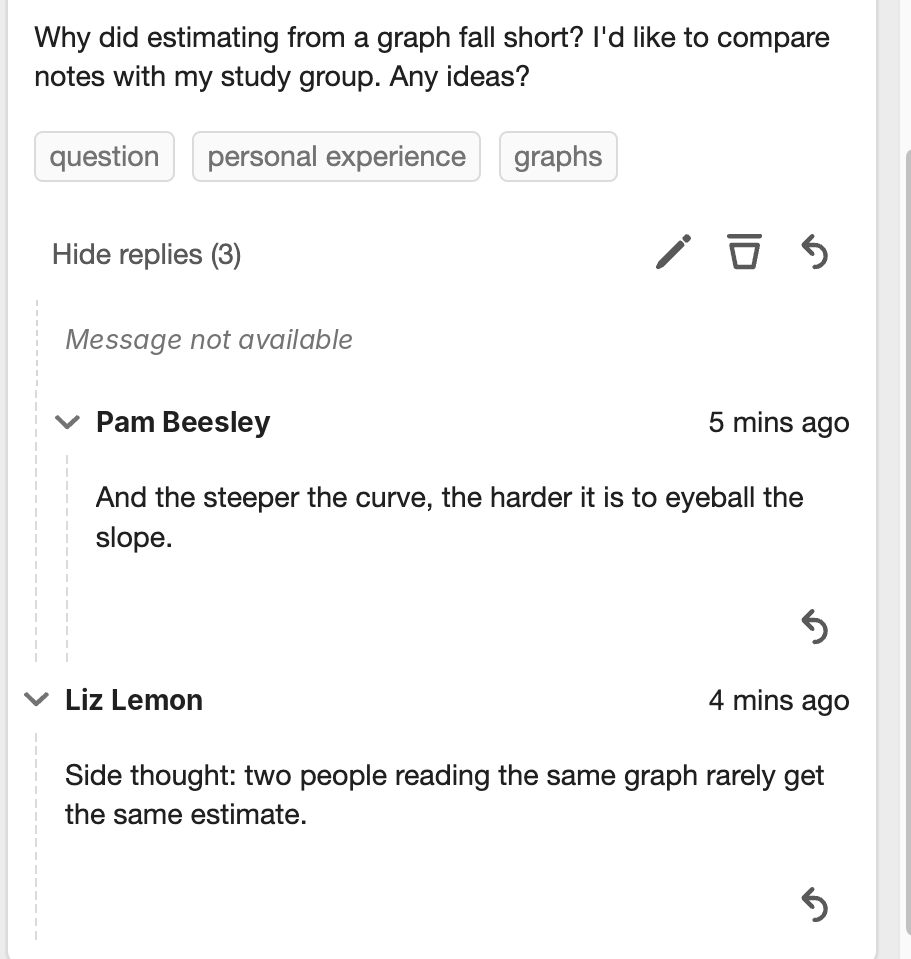
Replies are grouped under the annotation they answer, and conversations can branch into side discussions. Click the arrow beside a Reply to collapse or expand that part of the thread.
When an annotation goes missing. If a Reply in the middle of a conversation is deleted or made private, you’ll see “Message not available” in its place, so the rest of the thread still makes sense. If the text an Annotation was attached to changes or disappears, the Annotation moves to the Unanchored tab. The same happens to Replies if the Annotation they were replying to is deleted. See What are unanchored annotations?
Moving between the reading and the sidebar
The reading and the sidebar are connected.
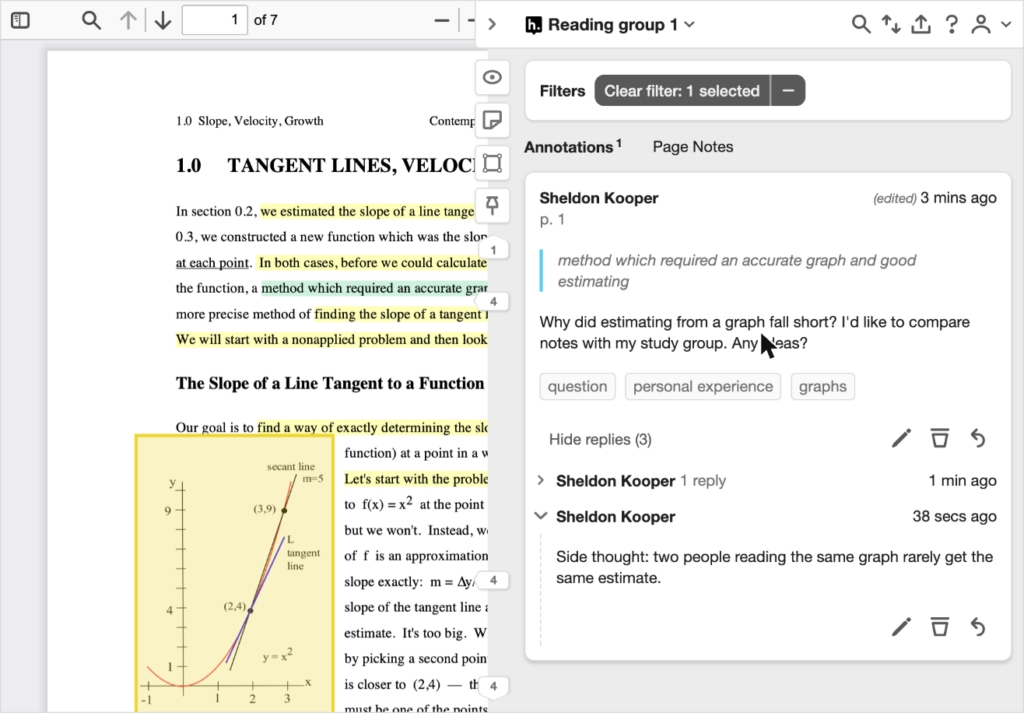
- Click a highlight on the page, and the sidebar shows just that annotation. If highlights overlap, you’ll see all of them.
- Click a card, and the page scrolls to its highlight.
- Hover over a card, and its highlight turns blue so you can spot it.
- On images, rectangle annotations appear as yellow boxes and pins as yellow circles, and they work the same way.
Users of screen readers can also navigate and read the Sidebar and the page. For more on using Hypothesis with a screen reader, see Hypothesis and Screen Readers.
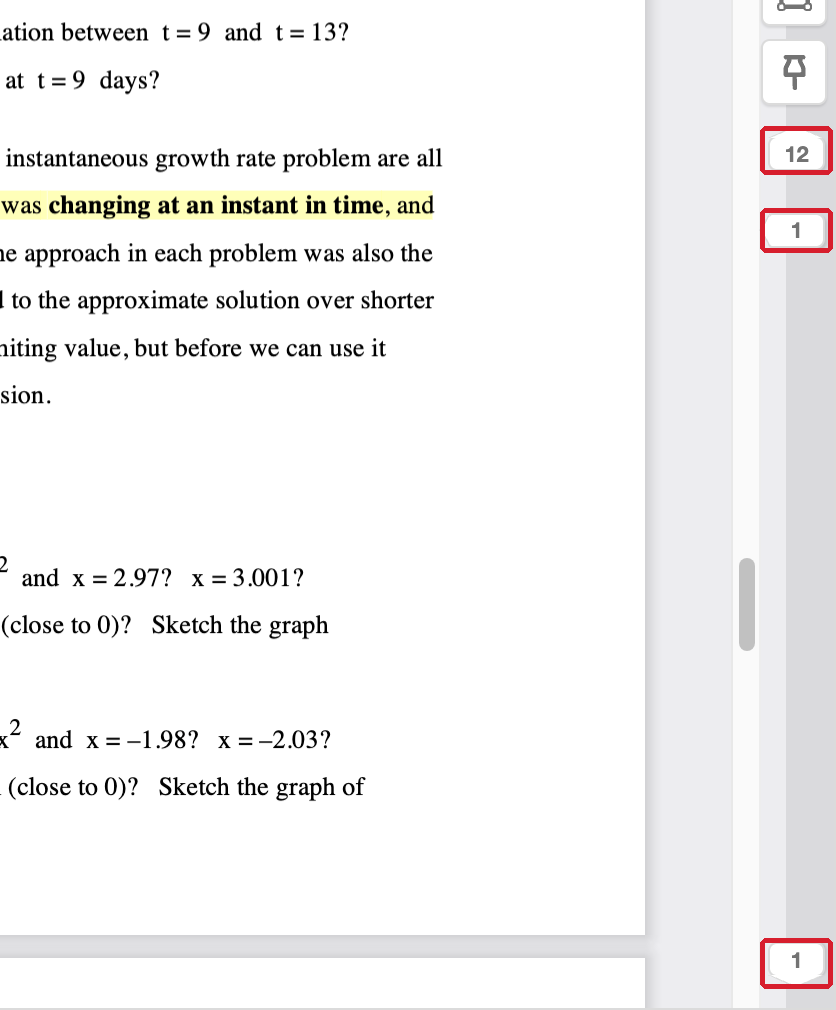
The bucket bar. The narrow bar along the edge of the sidebar shows where annotations are on the page, with arrows showing how many are above and below what you’re looking at. Click a bucket to show just those annotations in the sidebar, or click an arrow to jump to the next set.
Search and sort
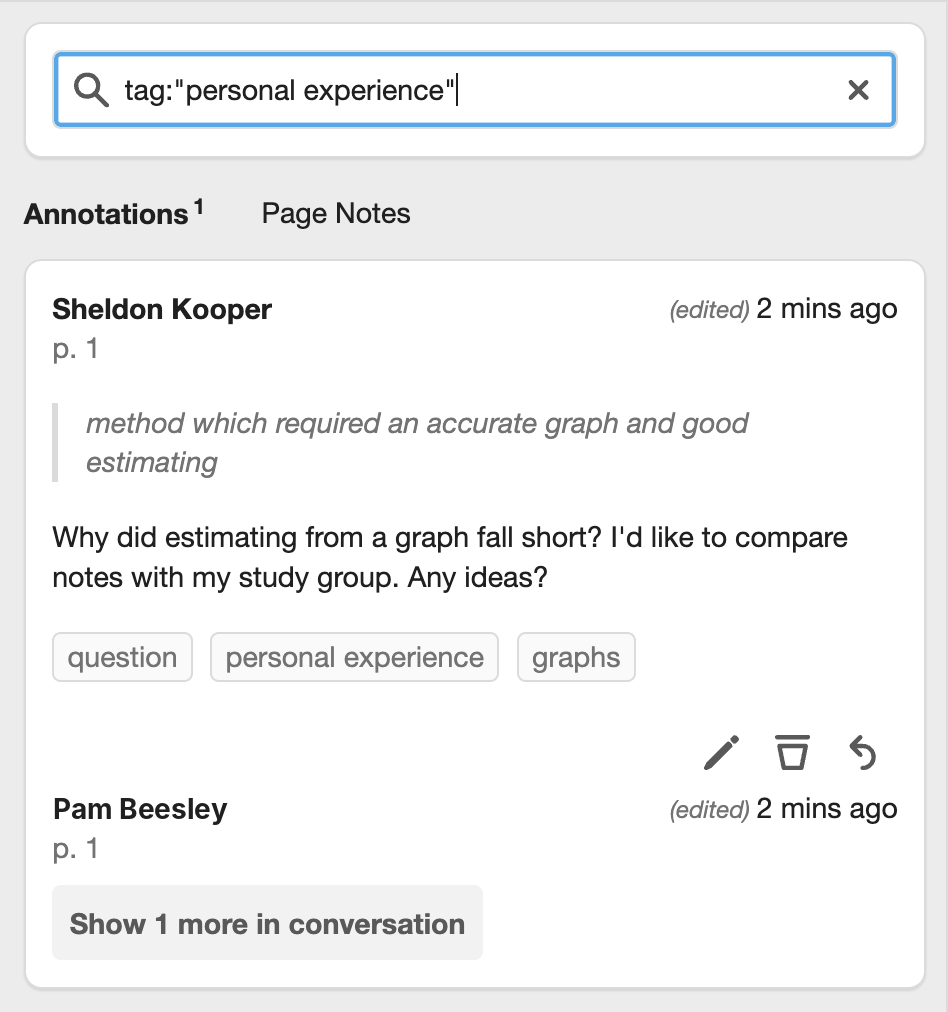
Search. Click the magnifying glass to search author names, selected text, notes and tags. To search for a tag, type tag: followed by the tag. Use quotes if the tag has a space, like tag:”personal experience”. To find one person’s annotations, use user:. When search narrows the sidebar, you can still reveal individual Replies in a conversation one at a time. See How Hypothesis search works.
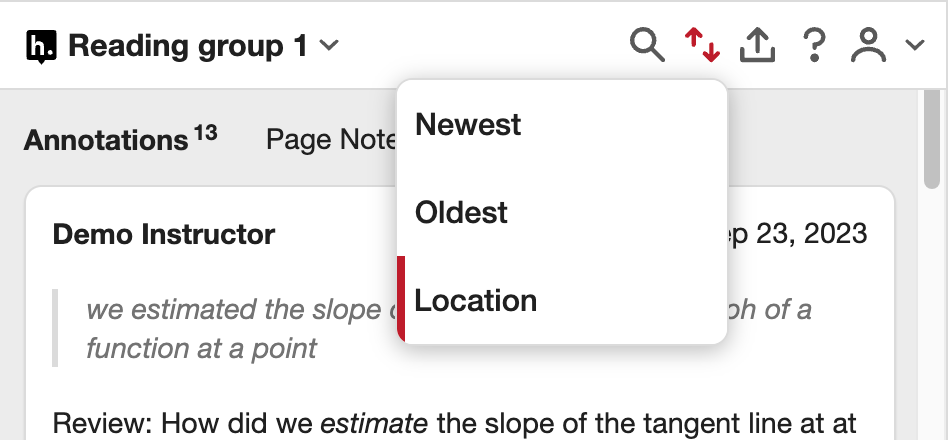
Sort. Sort cards by newest, oldest or location in the reading, which is the default.
Taking your notes with you
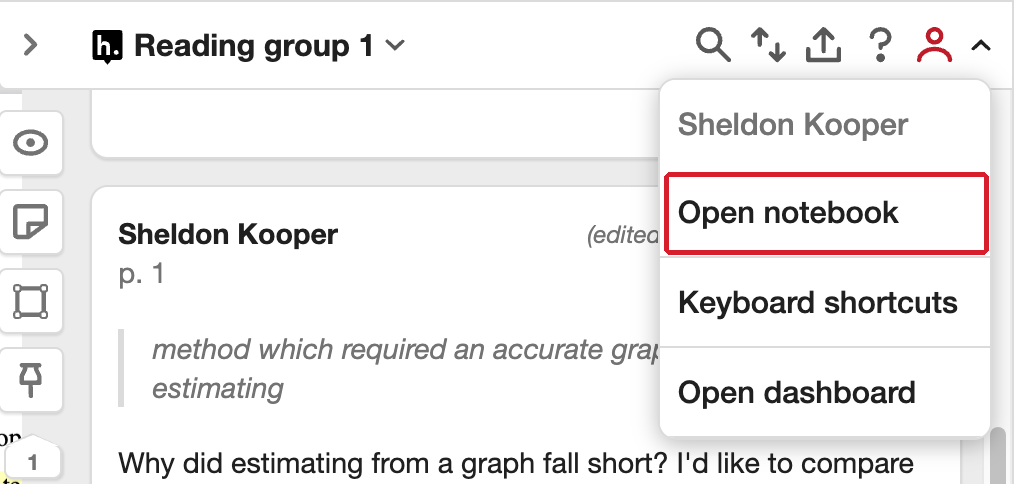
Notebook. The account menu at the top of the sidebar includes a link to the Notebook, which collects all the annotations in your Hypothesis group across every reading in one place. See How to preview the Hypothesis Notebook.
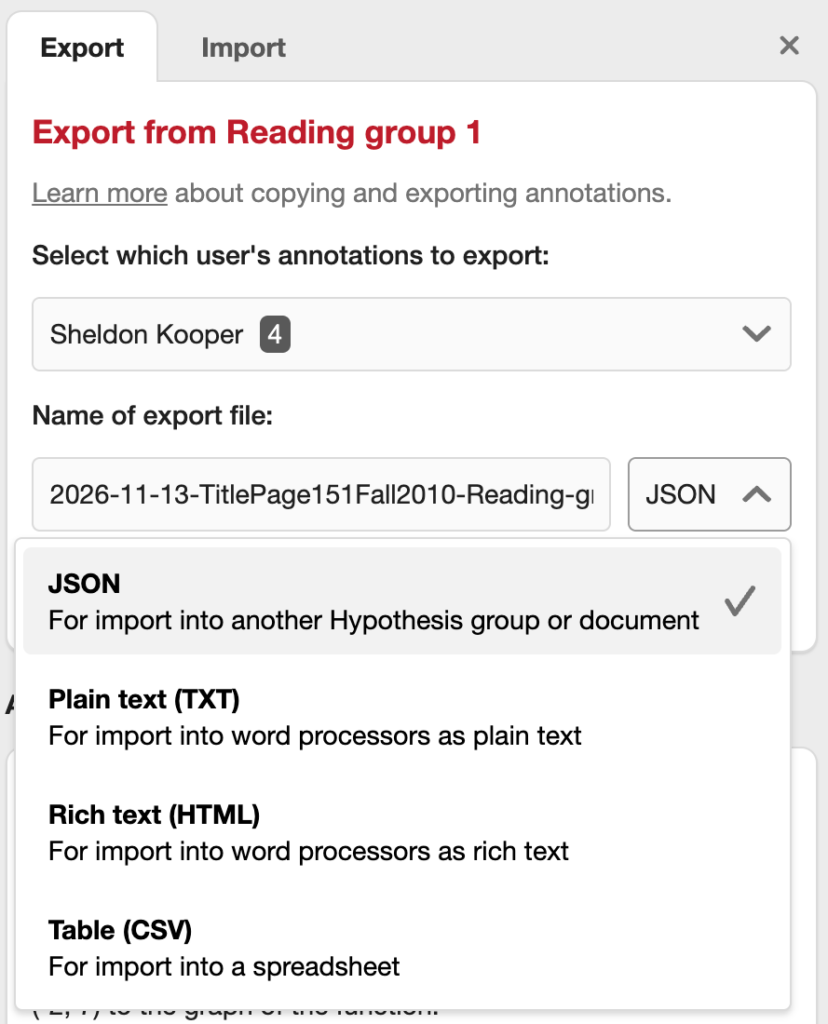
Export and import. Export annotations as plain text, HTML, CSV or JSON, either as a download or copied to your clipboard. JSON files can also be imported back into an assignment. See Exporting and importing annotations.